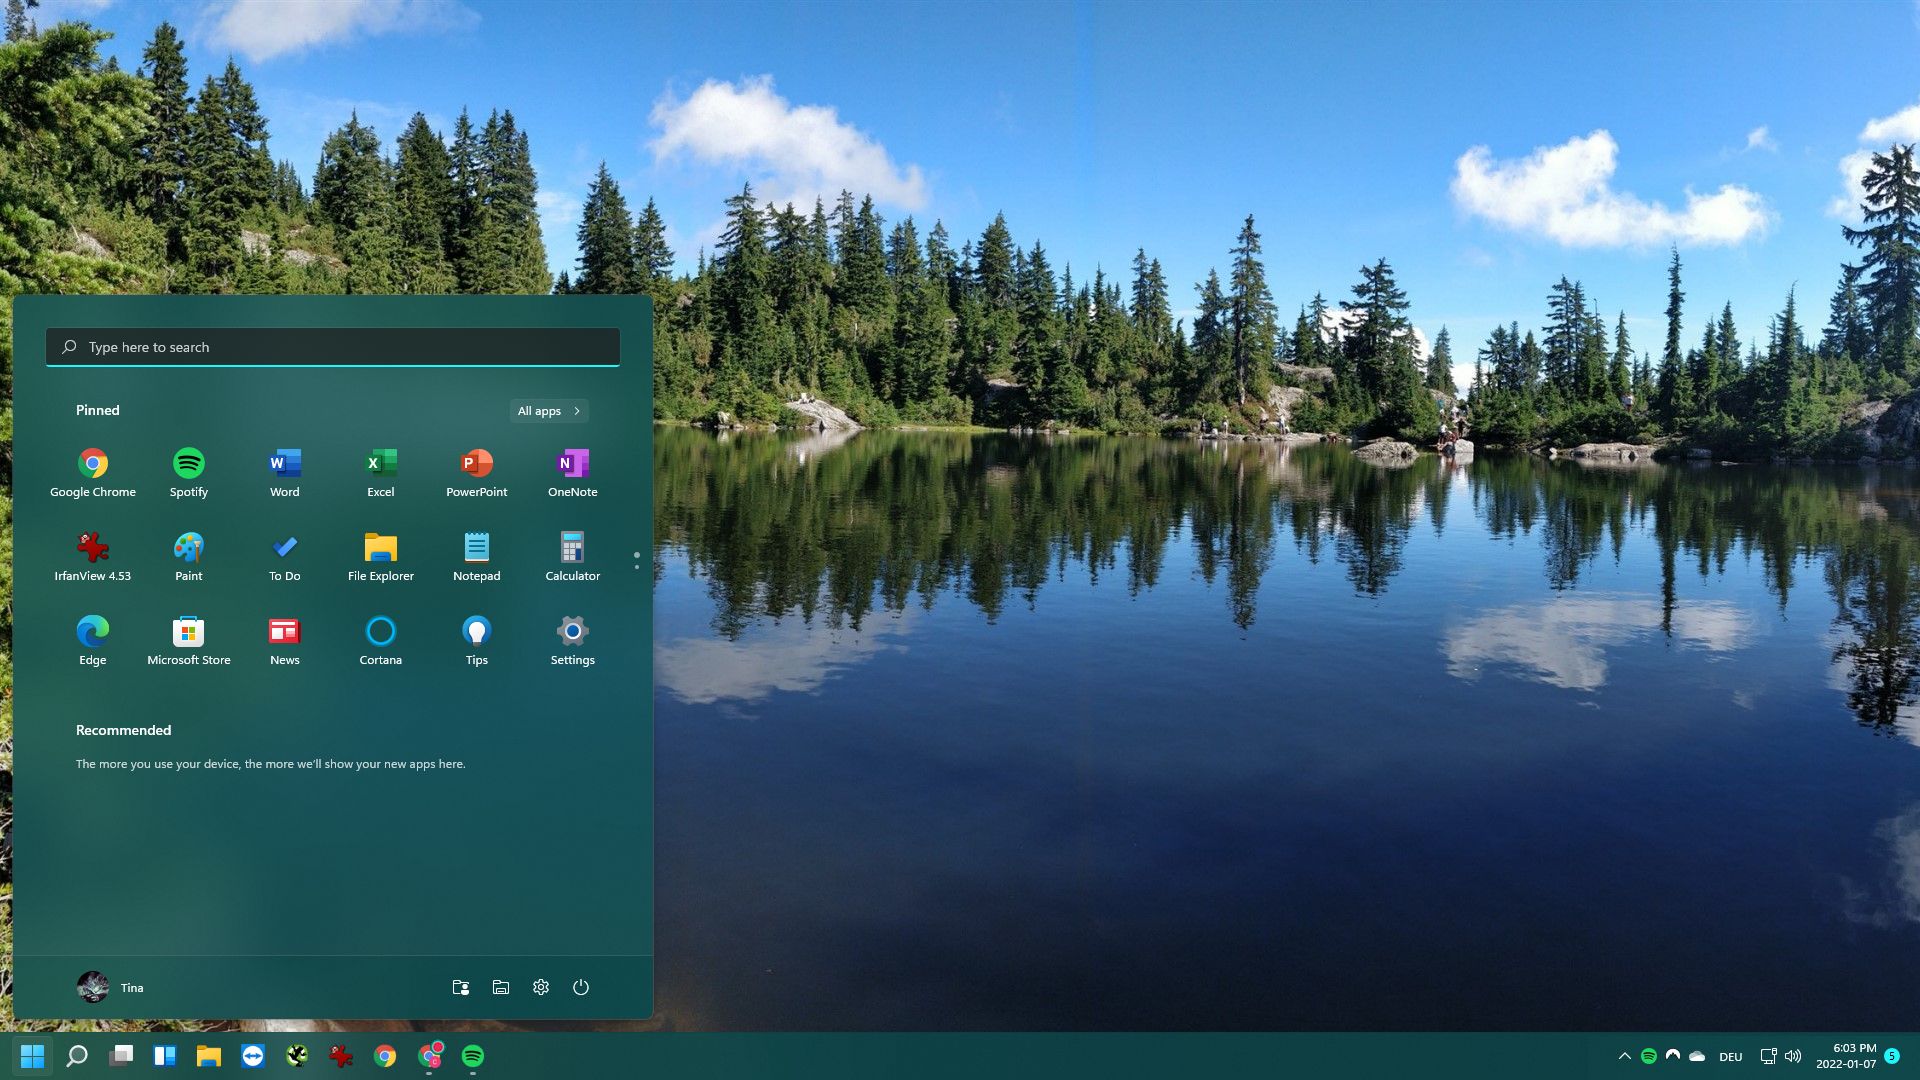
You can change the settings of the Start menu in Windows 11 to add or remove items from the sections that display in it. In other words you can Customize Windows 11. Nevertheless, many of the app grouping and customization features seen in Windows 10’s Start Menu are absent in Windows 11. Use the “Settings” app by clicking its icon in the Start menu to change the Start menu in Windows 11. Alternatively, right-click the Start button and select “Settings” from the resulting pop-up menu.
Click the “Personalization” link on the left side of the “Settings” app window to see the “Personalization” settings on the right. Then, on the right side of the window, choose the “Start” link in the list of Personalization settings to see its settings. To display recently added programs in Windows 11’s Start menu, flip the “Show recently added apps” toggle switch to the “On” position. For hiding them, click it and then toggle it to the “Off” setting.
Customizing the Start Menu in Windows 11
To display the most-used apps in the Start menu, toggle the “Show most used apps” toggle switch to the “On” position. For hiding them, click it and then toggle it to the “Off” setting. If you want to enable the display of recently-opened things on the Start menu, jump lists, and File Explorer, flip the “Display recently opened sections in Start, Jump Lists, and the File Explorer” toggle switch to the “On” position. To hide them, click it and then toggle it to the “Off” setting.

For adding buttons to the left of the “Power” icon, in the Start menu on Windows 11, click the “Folders” icon at the right side of the “Start” category in “Settings” section to see a list of the windows and folders you can add to that part. To add a listed folder or app, toggle the toggle switch to the “On” position. To turn it off, click its toggle switch and flip it to the “Off” position.
If you add folder or app buttons, you can access them by clicking them in the Start menu, where they will display to the left of the “Power” button. After you’ve finished modifying the Start menu, click the “X” button in the upper-right corner to close the “Settings” box.
Steps for Customization
- Use the “Settings” app by clicking its icon in the Start menu to change the Start menu in Windows 11.
- Alternatively, right-click the Start button and select “Settings” from the resulting pop-up menu.
- Then, on the left side of the “Settings” app window, click the “Personalization” link to reveal the “Personalization” settings.
- Then, on the right side of the window, select the “Start” link in the list of Personalization settings. This is to see its settings.
- To display recently added programs in Windows 11’s Start menu, flip the “Show recently added apps” toggle switch to the “On” position.
- for hiding them, click it and toggle it to the “Off” setting.
- If you want to display the most-used apps in the Start menu, toggle the “Show most used apps” toggle switch to the “On” position.
- To hide them, click it and toggle it to the “Off” setting.

More Steps to Follow
- In order to enable the display of recently-opened things on the Start menu, jump lists, and File Explorer. Flip the “Display recently opened sections in Start, Jump Lists, and the File Explorer” toggle switch to the “On” position.
- To hide them, click it and toggle it to the “Off” setting.
- To add buttons to the left side of “Power” icon in the Start menu in Windows 11, select the “Folders”. Link at the right side of “Start” category, in the “Settings” window to see a list of the windows and folders you can add.
- For adding a listed folder or app, toggle the toggle switch to the “On” position.
- To turn it off, click its toggle switch and flip it to the “Off” position.
- If you add folder or app buttons, you can access them by clicking them in the Start menu. That is where they will display to the left of the “Power” button.
- After you’ve finished modifying the Start menu, click the “X” button in the upper-right corner to close the “Settings” box.


