If you’re searching for an excellent pair of headphones for general use, Logitech is a great brand to consider. However, before you buy, you should be aware of several issues. Logitech headphones frequently have difficulties. Here are some of the problems you could have using Logitech headphones. Let’s figure out How to Trouble Shoot with Logitech Headphones
1. The Computer Is Unaware of the Logitech Headset USB
Logitech’s USB connectivity is one of its standout features. Logitech currently offers three USB connectivity methods.
- Unifying Receiver
- Wired USB
- USB receiver/transmitter
Compared to the standard Bluetooth and 3.5mm plug, these connections are quite stable. However, your computer may fail to recognize the USB cable, which means you won’t be able to hear anything. Here’s how to Trouble Shoot with Logitech Headphones
How to Fix It
- Do not start your computer with a USB dongle or cable connection.
- Leaving your Logitech USB dongle or cable connected potentially causes a clash with other devices in your computer during startup.
- Unplugging the USB eliminates potential conflicts and allows your machine to boot normally.
- When the computer has done loading, plug in your Logitech headphones’ USB receiver or cord.
Use the Hardware Troubleshooter to troubleshoot your hardware.
The Hardware Troubleshooter is a great function that comes with Windows 10. It assists users in troubleshooting issues in devices connected to their computers.
Here’s how to put it to use.
- Right-click the speaker icon in the taskbar’s lower right corner and select Troubleshoot Sound Problems.
- From the list that appears, select your Logitech USB headphones.
- To begin troubleshooting, follow the prompt.
It should be noted that Windows 10 Build 1809 will not be able to use the Troubleshooter via these procedures. If you’re using this programme, take the following steps:
- Select Windows PowerShell from the menu when you right-click the Start button (Admin).
- If prompted to grant access, select Yes.
- Run the following command while Windows Power runs: msdt.exe -id DeviceDiagnostic.
- The Hardware and Device Troubleshooter will be shown. Next, click.
- Follow the on-screen instructions, then restart your computer to find out if the problem has been resolved.
After you’ve tried these methods, listen to some music and see if the sound comes through your headphones. If there is no sound, proceed to the next step.
Set your Logitech headphones as your default audio device.
If your computer is still not recognizing your Logitech USB headphones, try making it the default audio device. Here’s how to go about it.
- Right-click the speakers/headphone icon in Windows and select Open Sound Settings.
- Under Related Settings, select Sound Control Panel.
- Set your Logitech USB headphones to Default in the Sound Settings window.
- To save your settings, click OK.
- Open System Preferences and navigate to Sound.
- Select your Logitech USB headphones from the Selected Sound output device drop-down option.
Then check to see if your USB headphones are recognized and are playing sound.

Audio Driver Upgrade
If your computer still does not recognize the Logitech USB headphones, you should upgrade the audio driver.
There are three options: using the Device Manager, manually downloading the update, or using a third-party system that automates the update process. If you want to use the Device Manager, do the following:
- To launch the Run dialogue box, use the Windows key + R.
- Enter devmgmt.msc and then press OK.
- In the Device Manager, expand the Sound, Video, and Game Controllers category.
- Locate your Logitech USB Headset, right-click it, and choose Update Driver.
- Select Automatically Search for Updated Drivers.
- Manual installation of the USB driver will require you to visit the manufacturer’s website and check for updates.
Fortunately, while other brands have a more involved process, Logitech provides a rather easy interface to assist you in finding the correct driver. You just have to do is enter the operating system and version of your computer, the device category, and the model of your headphones. Make sure you have the correct headphones model because installing the wrong driver may create problems.
You can also use third-party driver update utilities. These tools consolidate, scan your computer for any driver faults, and download the necessary updates to optimize your machine’s performance.
Change the Privacy Settings
Some computer privacy settings may prohibit your Logitech headphones from working properly. You may be able to hear through the ear cups, but your microphone isn’t working. To resolve this, you must modify your Privacy Settings.
- Press Windows key + I to open Settings and navigate to Privacy.
- Select the microphone on the left and enable the Allow apps to access Microphone option.
- You may also choose which apps will have access to your microphone.
- Check the Logitech Headphones to see whether the problem has been resolved.
2. The Logitech Unifying Receiver is not functioning properly.
Logitech has a Unified receiver that allows you to combine all of your Logitech wireless devices, including headphones, keyboards, and mice, into a single USB dongle. This is ideal for folks who don’t have many USB ports available but don’t want Bluetooth connections to cause interference. It’s also ideal for those who have moved away from wired connections, as having only one dongle eliminates the clutter of wired connections.
If you’re encountering problems with the unifying receiver, the solution differs from the headphones’ USB dongle. It should be noted that this problem primarily affects Windows-based computers.
How to fix it.
Setup the Unifying Software
Logitech’s official Unifying app can be downloaded from the URL at the bottom of this post under Sources. Install it, restart your computer, and then launch the app as administrator by right-clicking it and choosing Run as Administrator. Then connect your Logitech devices, including your headphones, and test them to see whether they work.
Remove any incompatible applications.
You may have some applications, such as the Unifying app, that may cause some issues. Because some apps operate as drivers, they may be problematic and create device conflict. Uninstall them and restart your computer to see whether the problem is resolved. As a general guideline, ensure you only have one driver for your device installed.
Restart your computer.
A thorough computer cleaning can erase temporary setups and provide you with what amounts to a blank slate. Power cycling is also simple. Here’s how to go about it.
- Select shut down to turn off your computer.
- Unplug all connected devices, including USB hubs.
- Unplug the power cord and press the power button down for 30 seconds.
- Please remove the battery from the computers and replace it after 30 seconds.
- Allow your computer to idle for 5 to 10 minutes before powering it on.
- Check to see whether the issue has been resolved.
Remove the most recent Windows Update.
Many Logitech users have reported that a Windows upgrade hampered the Unifying service. The supported devices were frequently incompatible with the Windows upgrade. Here’s how to make it right.

- Enter appwiz.cpl after pressing Windows + R.
- On the left side of the Application Manager, click View Installed Updates.
- Locate KB4074588, right-click, and then select uninstall.
- After that, restart your computer to see if the problem has been resolved.
- Download a hot fix that prevents re installation of driver updates, which is referenced in the Sources section at the bottom of this article, to ensure that this problem does not reoccur until a patch is ready.
Disable USB Power Saving.
Power Saving capabilities for USB ports on computers allow wireless devices to save energy when idle. This can be an issue if it starts randomly while you listen to something. This setting should be disabled, especially if your computer is plugged in all day. To turn off Power Saving:
- Press down the Windows key and then press X.
- Open Device Manager and check under the USB section for the Logitech driver.
- Open the Properties window by right-clicking it.
- To disable the Power Saving feature, deselect all choices under the
- Power Management section.
- Start your computer again.
3. The device will not connect to Logitech Bluetooth headphones.
Another widespread issue with almost all headphones on the market is Bluetooth connectivity. And Logitech is not immune to this issue. But don’t worry, because this can be fixed. While the USB receiver can be used if the pairing fails, sometimes Bluetooth will suffice.
How to fix it.
Ensure the device option switch on your Logitech headphones is set to Bluetooth.
Turn off the headphones and then on again.
Try pairing the headphones again according to your unit’s instructions.
4 .I misplaced my Logitech USB Receiver. What Should I Do?
Logitech headphones’ USB receiver is relatively small and easily damaged or lost. It can be destroyed if you unplug it too quickly, and it’s too simple to misplace. The good news is that the Unifying receiver may be used as a replacement dongle for your headphones.
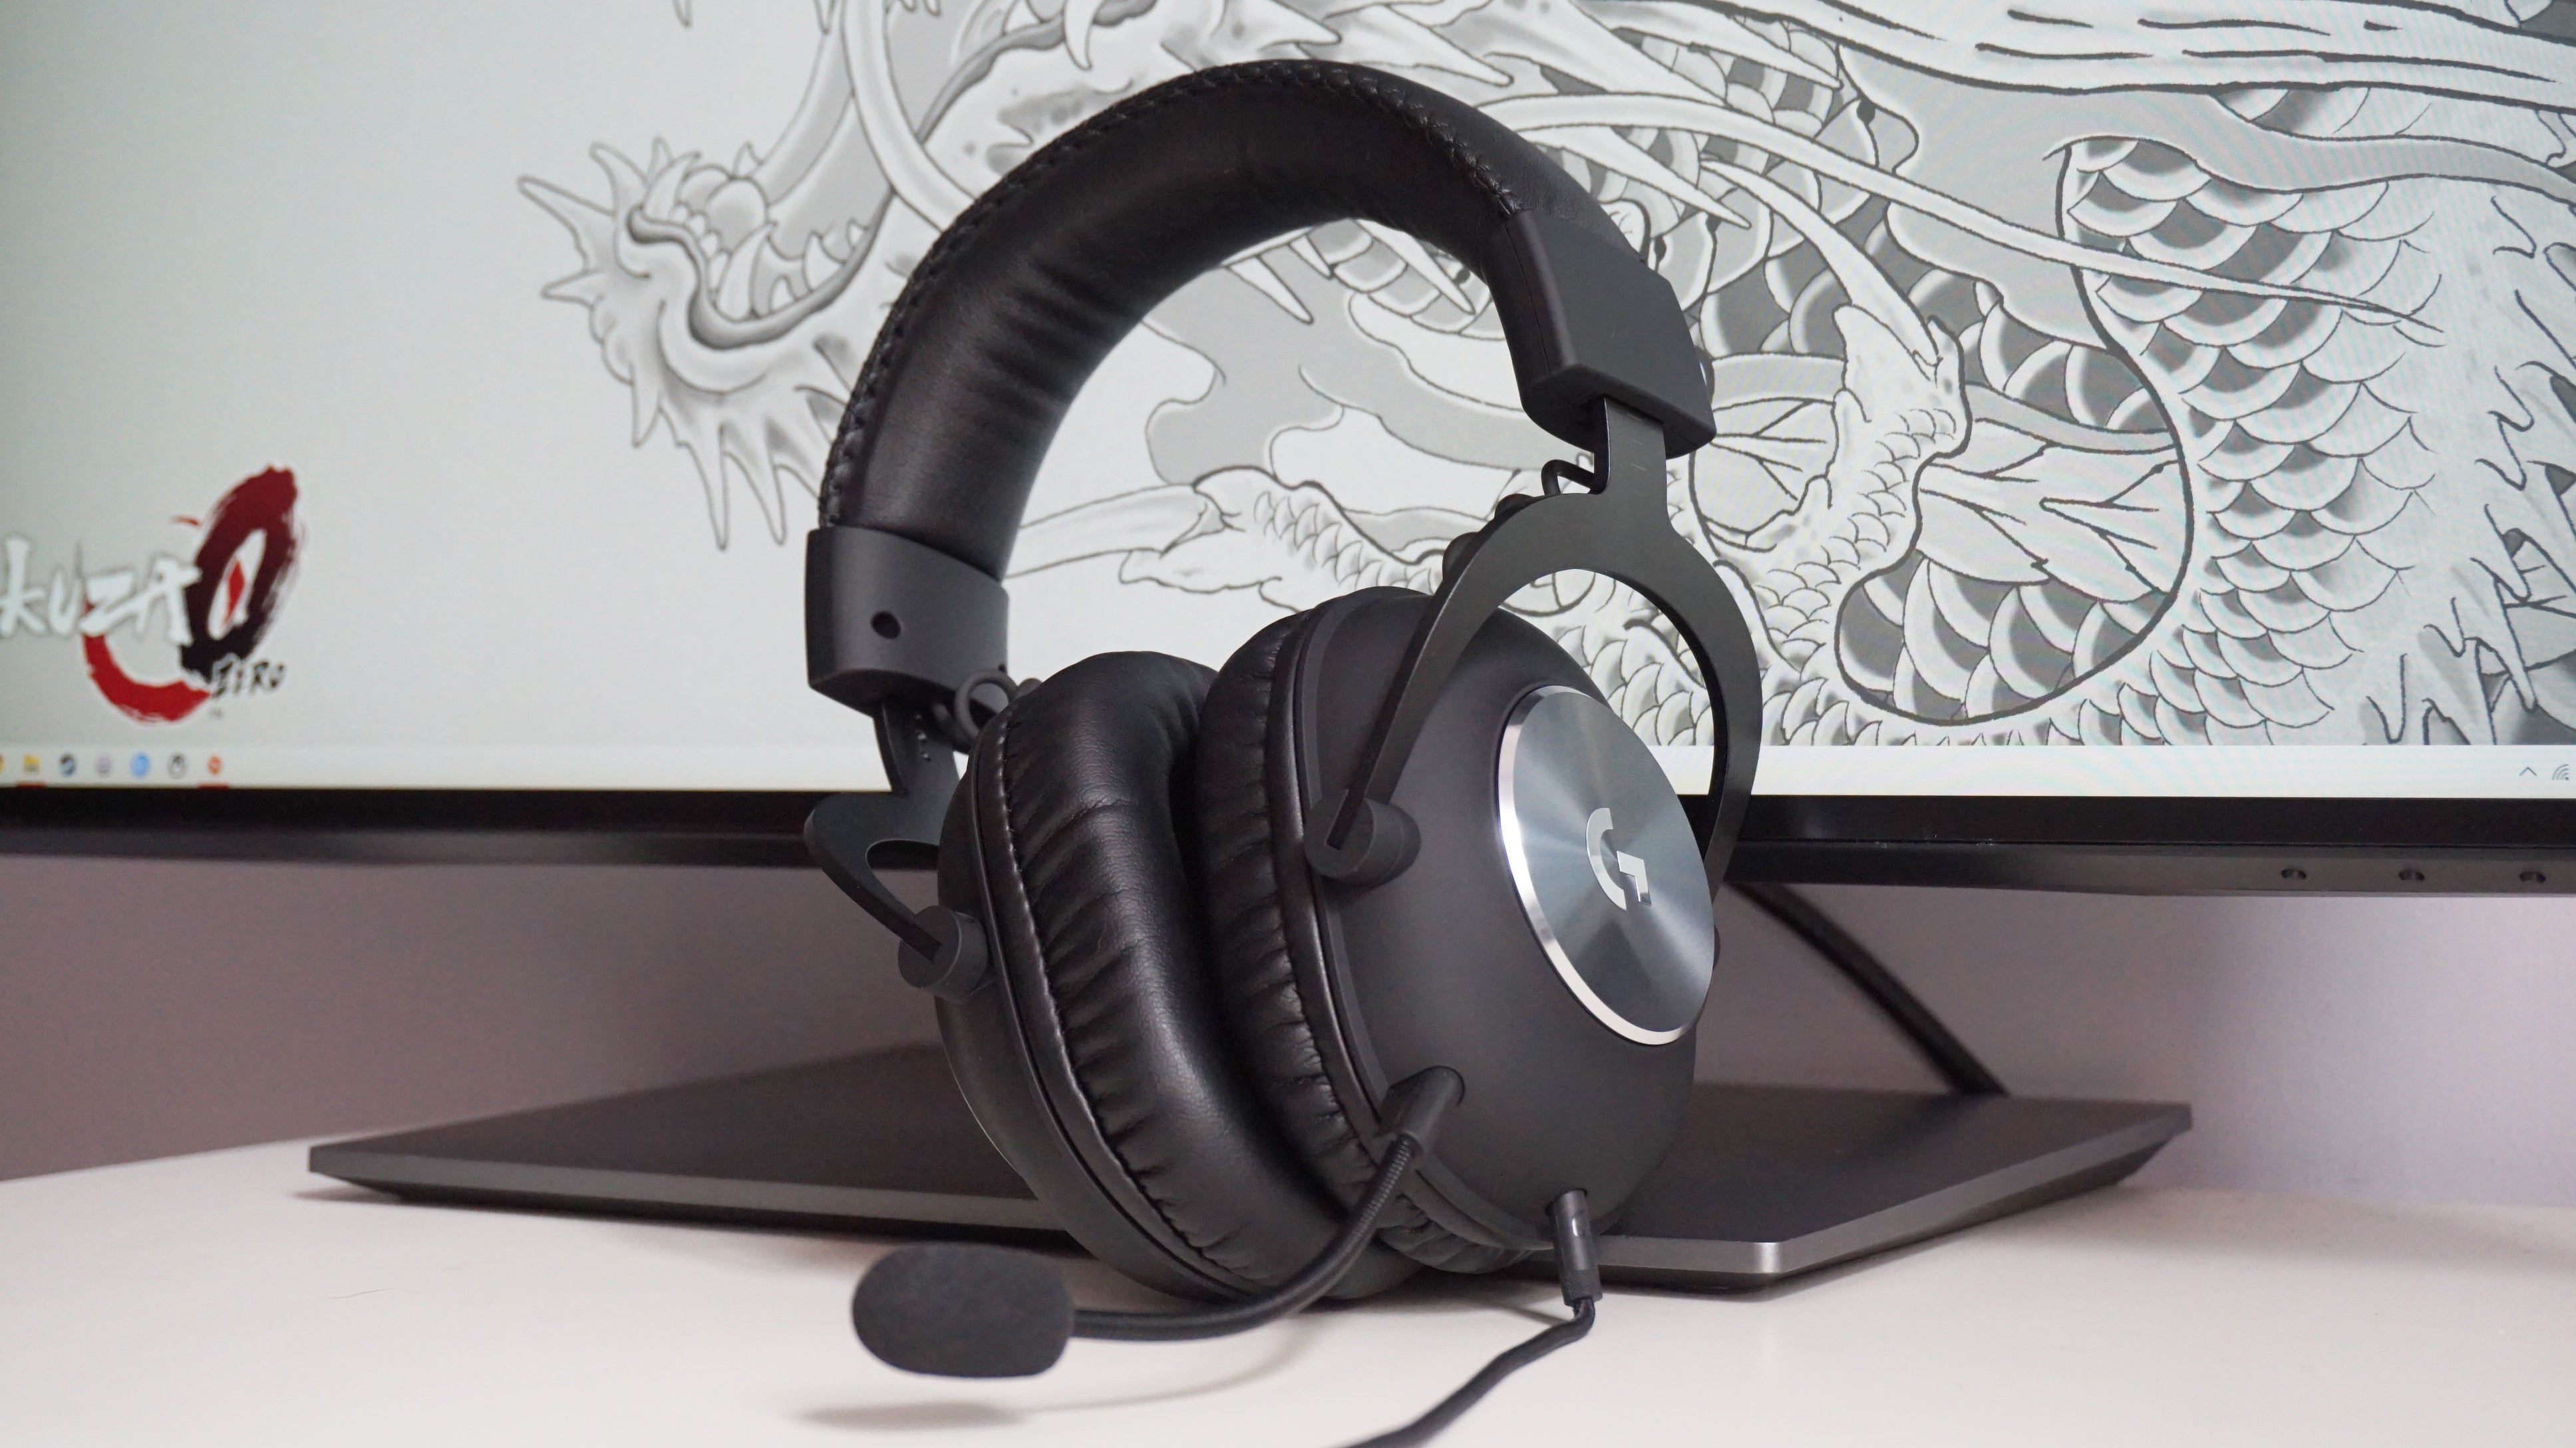
Even better, if your other wireless devices are Unifying-certified, you may connect them to the receiver for a faster setup. After purchasing the Unifying receiver, all you have to do is install the software and pair your headphones. Simply follow the on-screen instructions to connect your headphones. It’s worth noting that you can connect up to six devices in any combination that works with the Unifying receiver.
Conclusion
Our goal with this post was to mention some common issues that are usually reported in context of Logitech Headphones and we aimed at covering the topic of How to Trouble Shoot- Logitech Headphones. Hopefully our advised troubleshooting techniques have proved themselves right and now you have an idea of How to Trouble Shoot with Logitech Headphones


